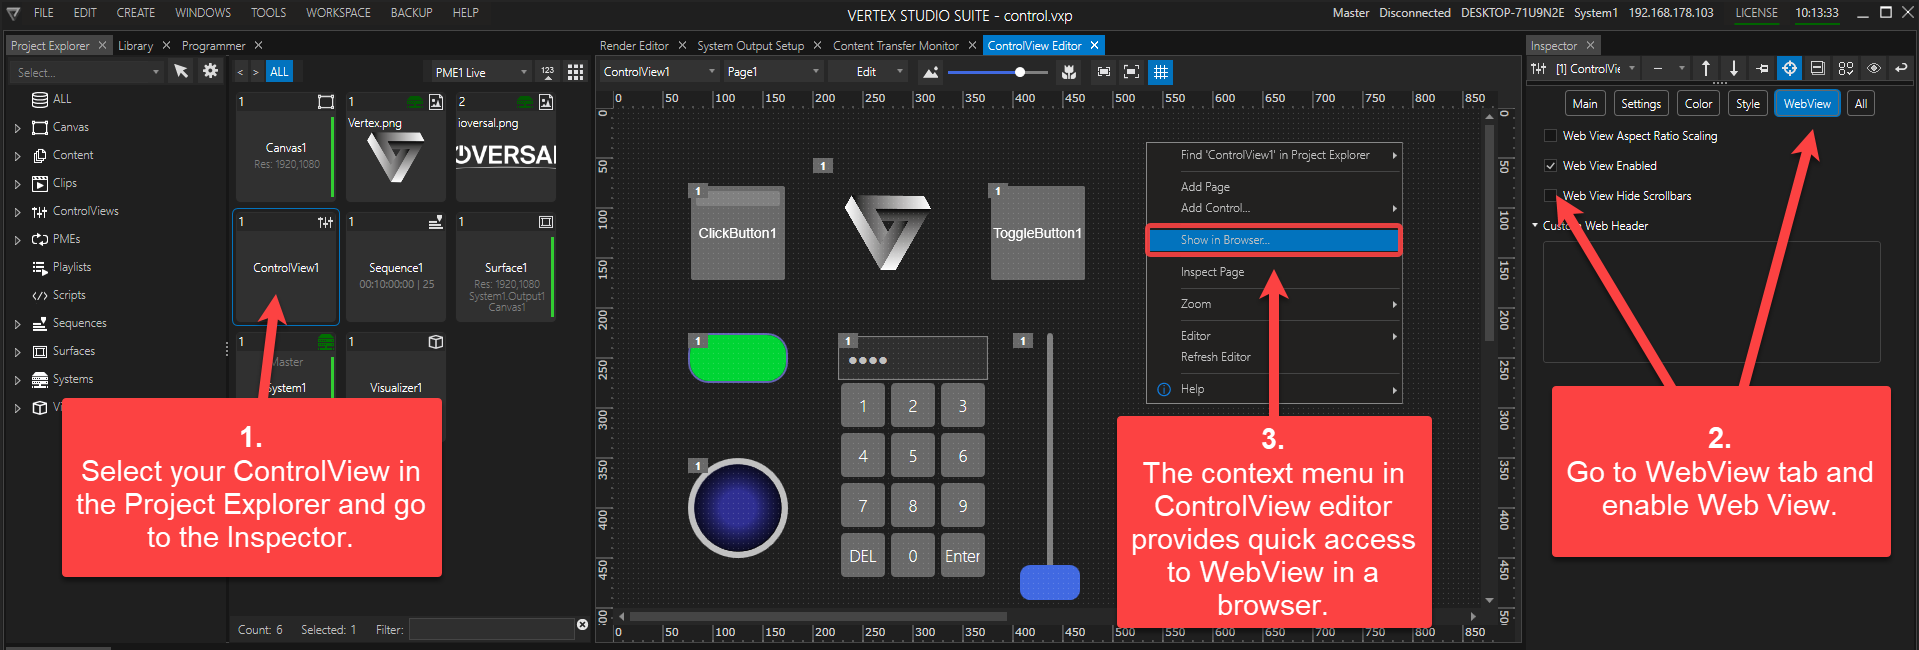
•Web View allows VERTEX' Control View to be accessed by any device in the same local network through any web browser.
•Web View's URL starts with http:// followed by your VERTEX Web Server IP, Control View, and Page like so:
http://192.168.178.100/Vertex/ControlView1/Page1
• Control View and Web View are passing values in java script for web scripts only.
 Use of Custom Fonts in ControlView and WebView
Custom fonts added to the master system and appear correctly throughout your Vertex Session in ControlView, may not be displayed correctly in WebView. To ensure fonts are delivered to devices that do not have them installed locally, they must be placed in the following directory:
C:\Users\Public\Documents\ioversal\Vertex\User\Fonts. This folder must exist on all systems used as web servers.
Video Content in WebView
Caution: Ensure the use of the correct video codec for the Video Player Control in WebView
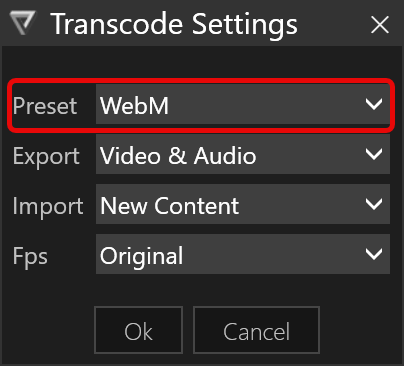
If you require to use the VideoPlayer Control in WebView, it's crucial to transcode your content to the WebM codec.
The application of Video Player controls in WebView requires settings different from regular Control View for the video stream to work properly.
Local Video Content: requires the correct video codec for reliable across various web clients. Transcode your content to WebM. Go to the context menu of the video content in Project Explorer and select Transcode... When prompted for the transcode settings, select the WebM codec from the Preset dropdown.
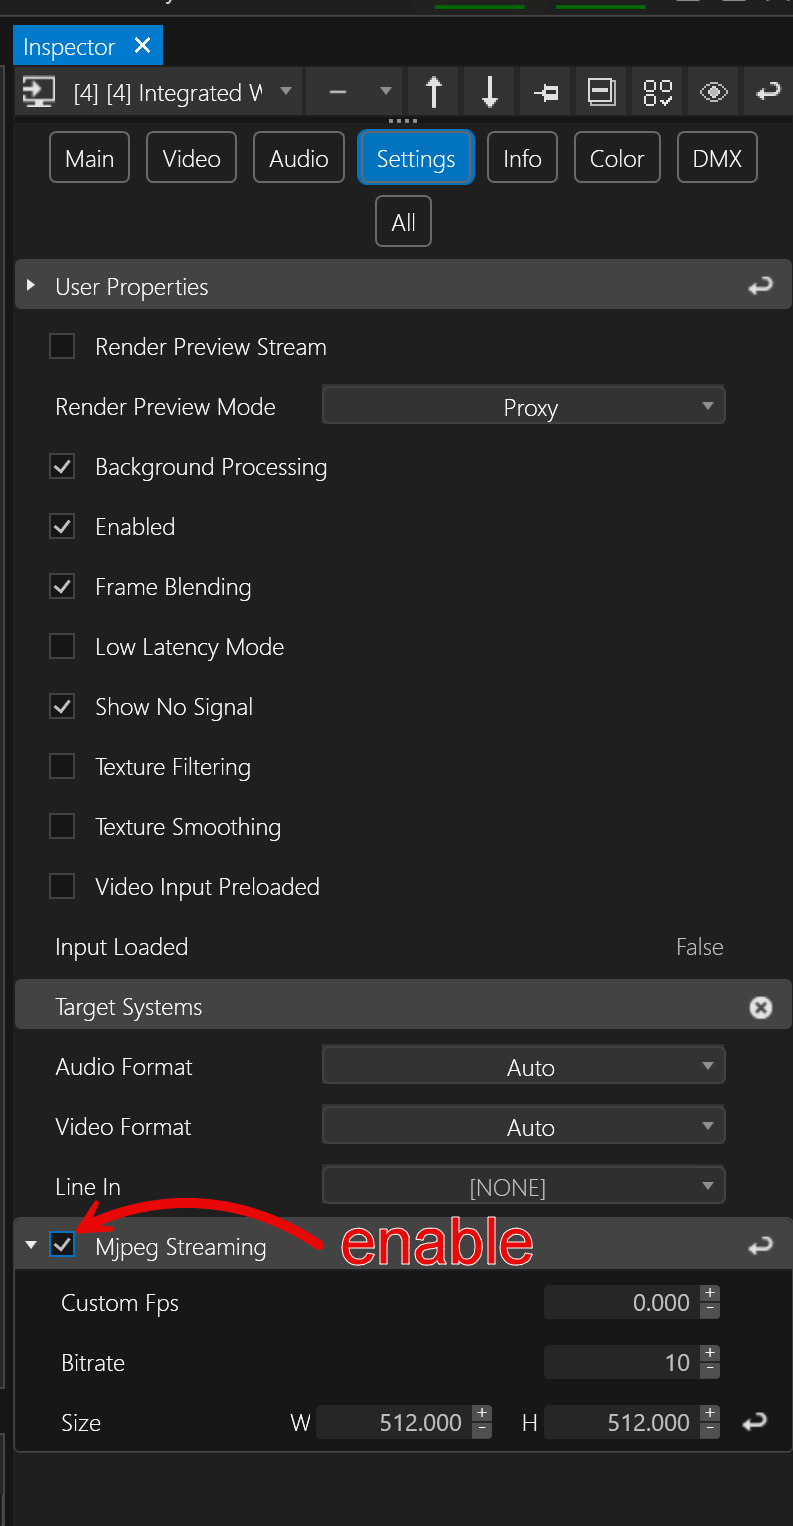
Live Video Inputs: Enable Mjpeg Streaming in the content item's inspector (Settings tab).
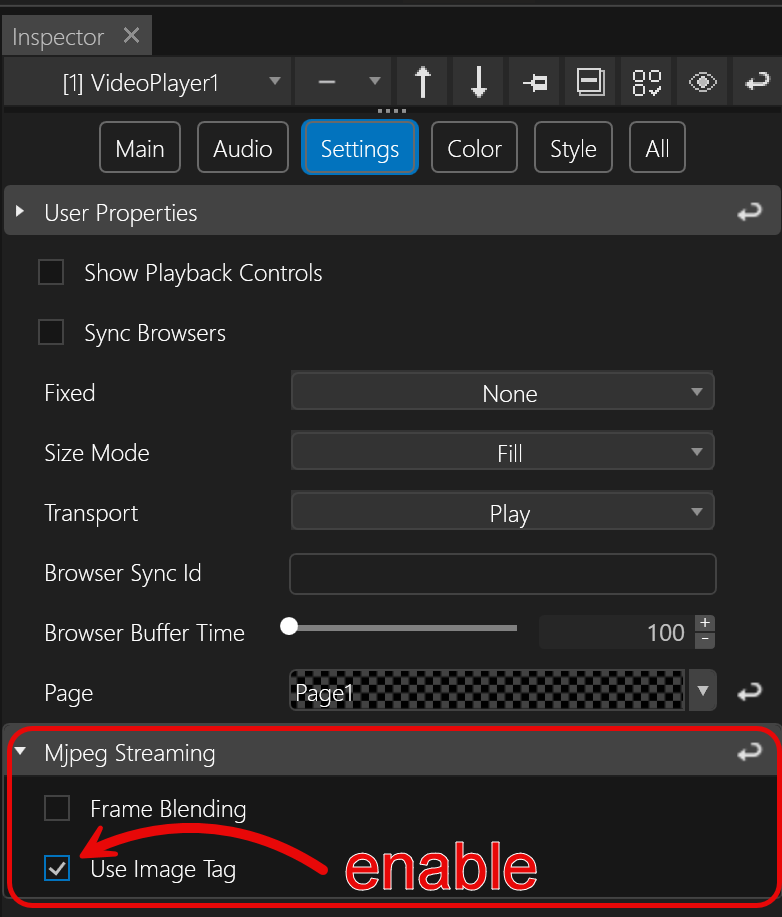
If the receiving client is an iOS device, you will need to do the following:
•Inspect the Video Player Control, go to Settings > Mjpeg Streaming and enable Use Image Tag
Changing WebServer and Websocket Port (if needed)
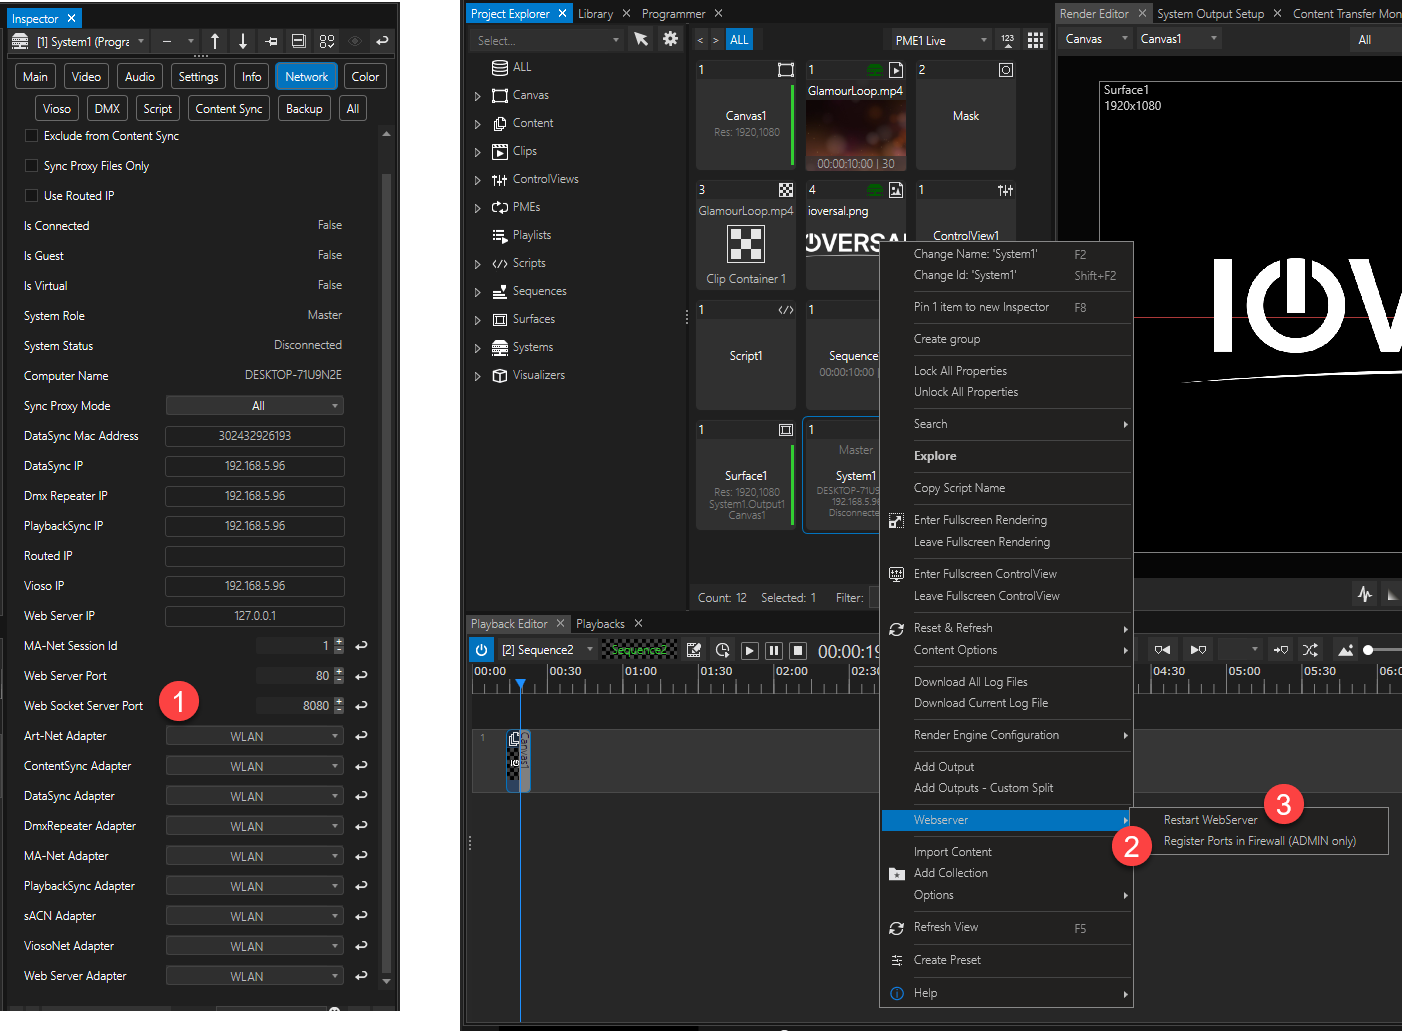
1.Select your System in Project Explorer and go to Inspector > Settings > Network to set Web Server Port (default 80) and Websocket Server Port (default 8080).
2.After you change the default ports you will need to go to Project Explorer > System > Context Menu (right-click)> Webserver and Register Port in Firewall...
3. ...then Restart WebServer in order for the changes to take effect.
Button Controls (ClickButton, Slider, Toggle, Upload etc) have an Inspector tab called WebView which allows the use of WebScripts such as:
Controls.ButtonSlider1.GetState()
Controls.ButtonSlider1.SetState(value)
Controls.Label1.GetText()
Controls.Label1.SetText(value)
Controls.Textbox1.GetText()
Controls.Textbox1.SetText(value)
Controls.Slider1.GetValue()
Controls.Slider1.SetValue(value)
Controls.Whiteboard1.ShowColorButton(value)
Controls.Whiteboard1.ShowColorPicker()
Controls.Whiteboard1.ShowPenSizeControl(value)
Controls.Whiteboard1.SetPenSize(size)
Controls.Whiteboard1.SetPenColor(color)
Controls.Whiteboard1.ShowEraser(value)
Controls.Whiteboard1.ToggleEraser()
Controls.Whiteboard1.ShowClearButton(value)
Controls.Whiteboard1.ShowSaveButton(value)
Controls.Whiteboard1.Save()
Controls.Whiteboard1.Clear()
Controls.Led1.GetState()
Controls.Led1.SetState(value)
Controls.ColorPicker1.GetColor()
Controls.ColorPicker1.SetColor(value)
Controls.CheckBox1.GetState()
Controls.CheckBox1.SetState(value)
Controls.ToggleImage1.GetState()
Controls.ToggleImage1.SetState(value)
Controls.WebBrowser1.SetUrl(value)
Controls.DropDown1.GetSelectedIndex()
Controls.DropDown1.SetSelectedIndex(value)
Controls.DropDown1.GetSelectedText()
Controls.ToggleButton1.GetState()
Controls.ToggleButton1.SetState(value)
WebView.Reload()
WebView.GotoPage(page)
WebView.Goto(webView, page)